SuiteOp offers agreements with single signatures, but you might need more customized forms for guests. For that we have a powerful DocuSign integration! This allows you to collect additional information from guests before they sign, collect signatures from multiple guests, and still pass variables from SuiteOp into the contracts. Learn how below!
Connect DocuSign in SuiteOp
Connect your DocuSign account by following these steps:
-
Sign in to your DocuSign account.
-
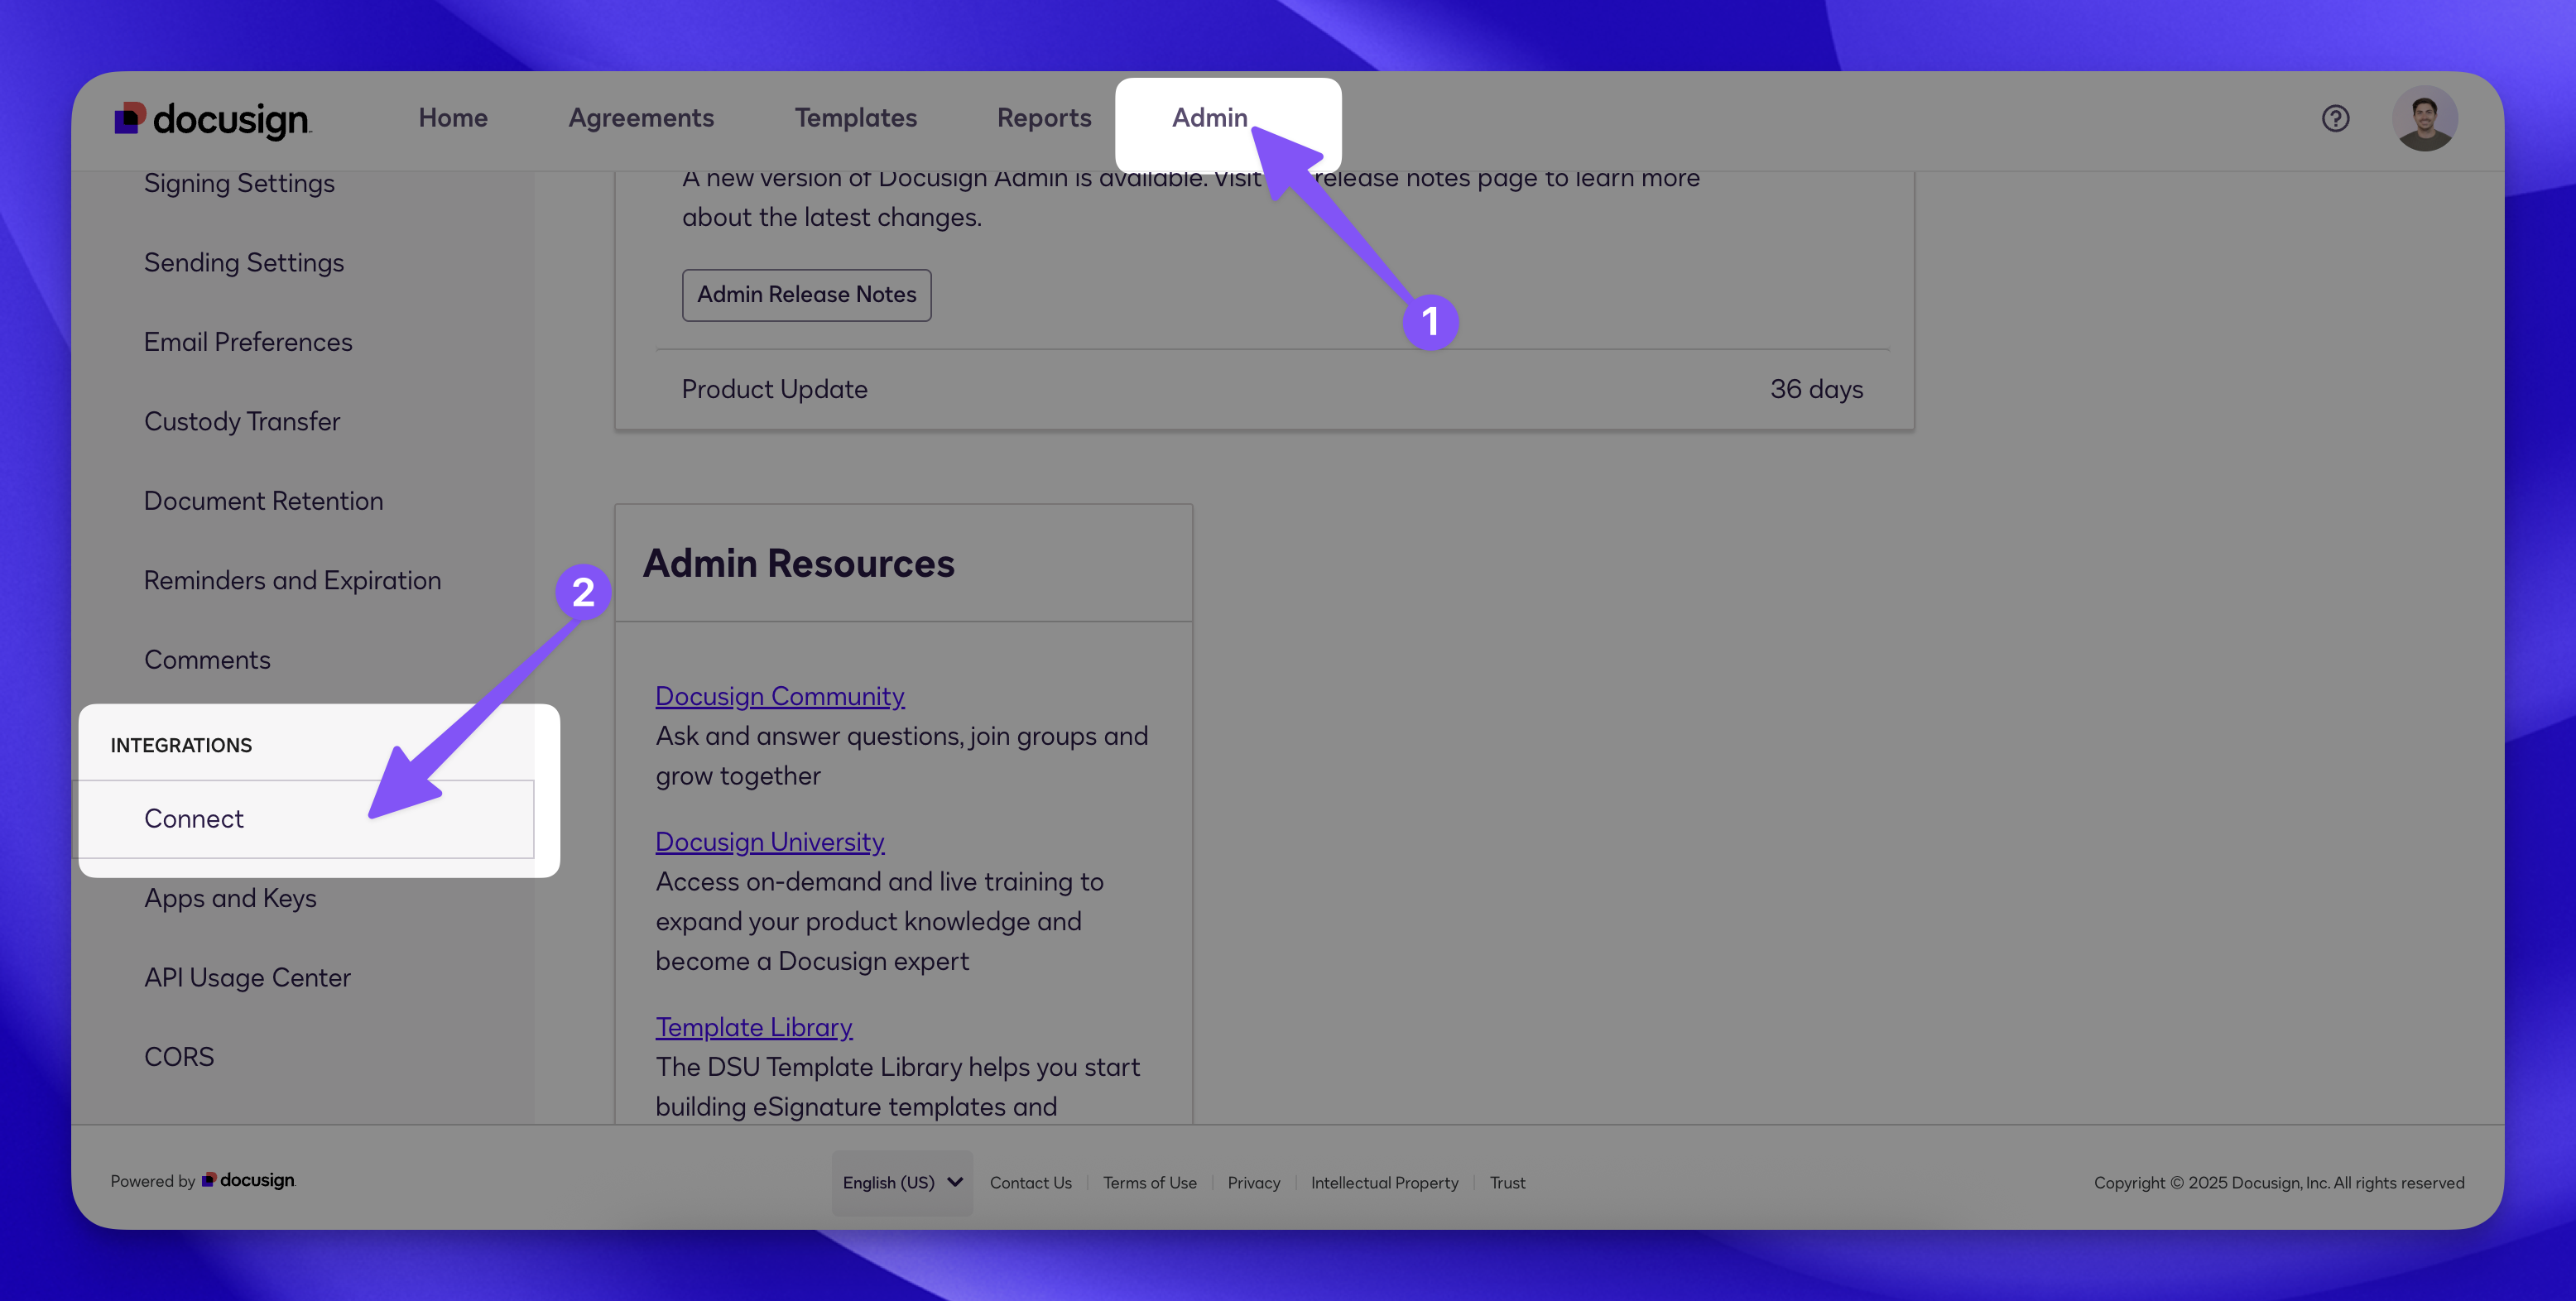
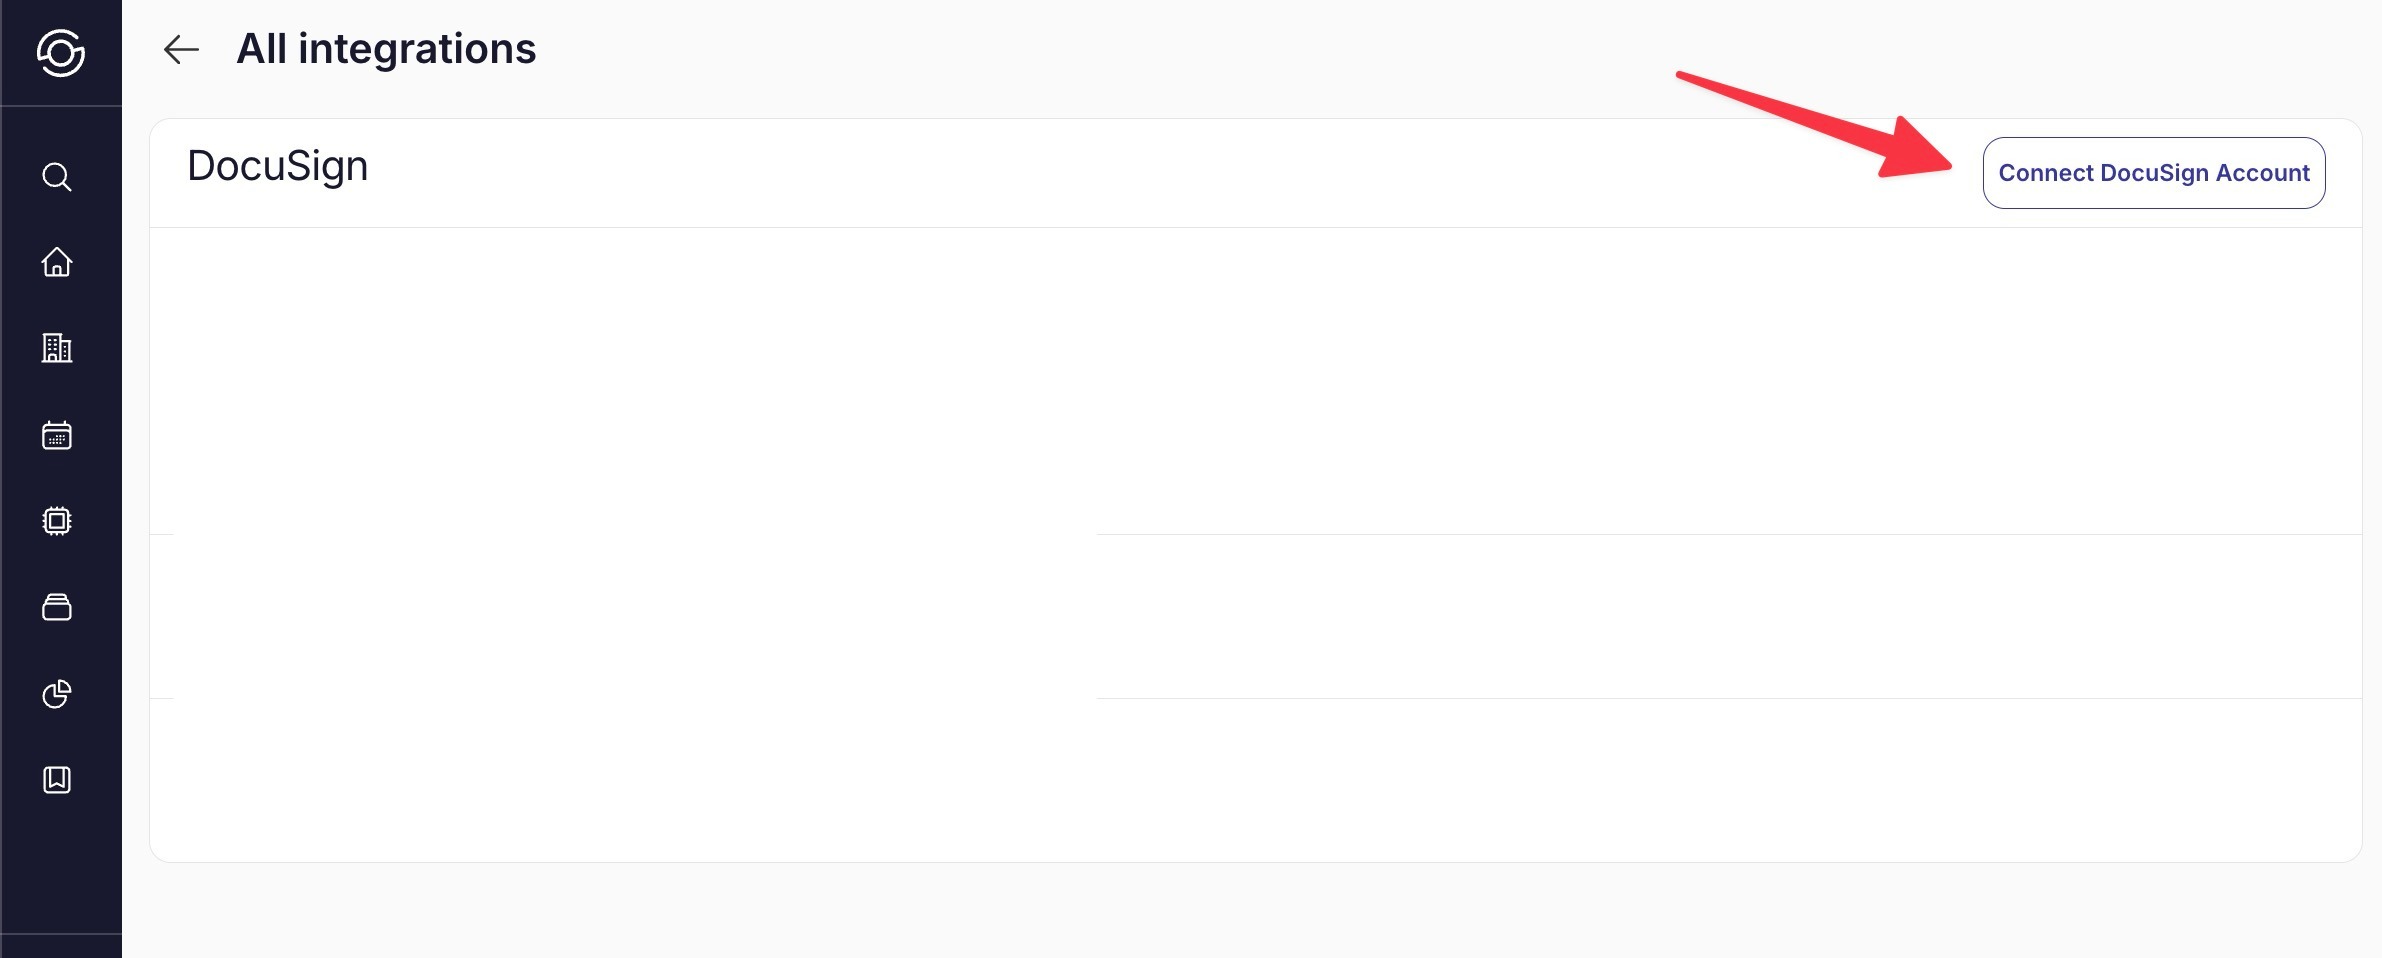
In SuiteOp, navigate to Integrations > DocuSign.
-
In the upper right corner, click Connect DocuSign Account.
-
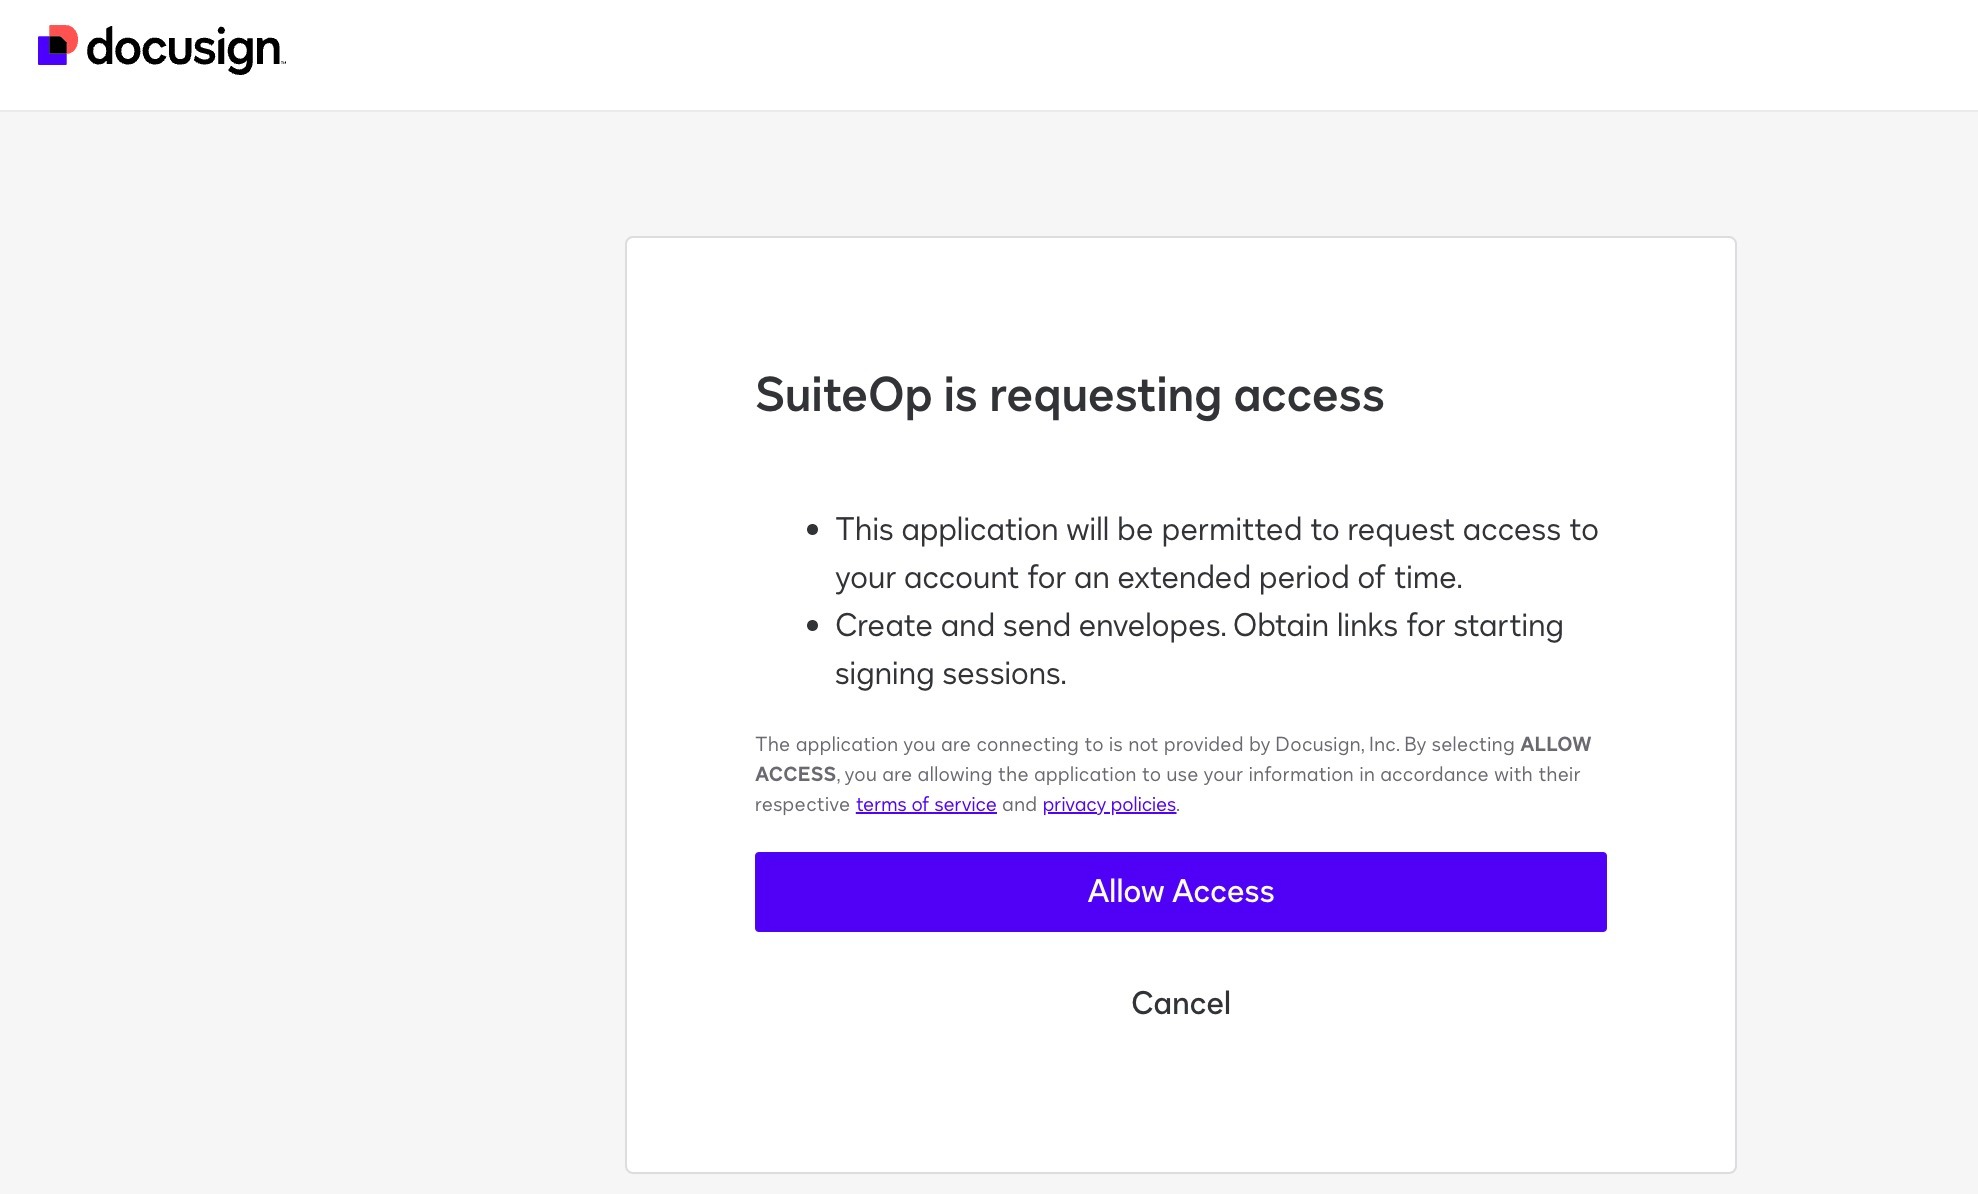
Click Allow Access to grant permissions.
The account you’re signed into on DocuSign will automatically connect.
Create a DocuSign Template
To set up DocuSign for different guests (recipients), follow these steps:
-
Go to Templates**: Log in to your DocuSign account and navigate to the** Templates** section.**
-
Create a New Template: Click** Create** to start a new template.
-
Enter Template Details:
Provide a name for the template.
-
Attach the agreement file you want to use.
-
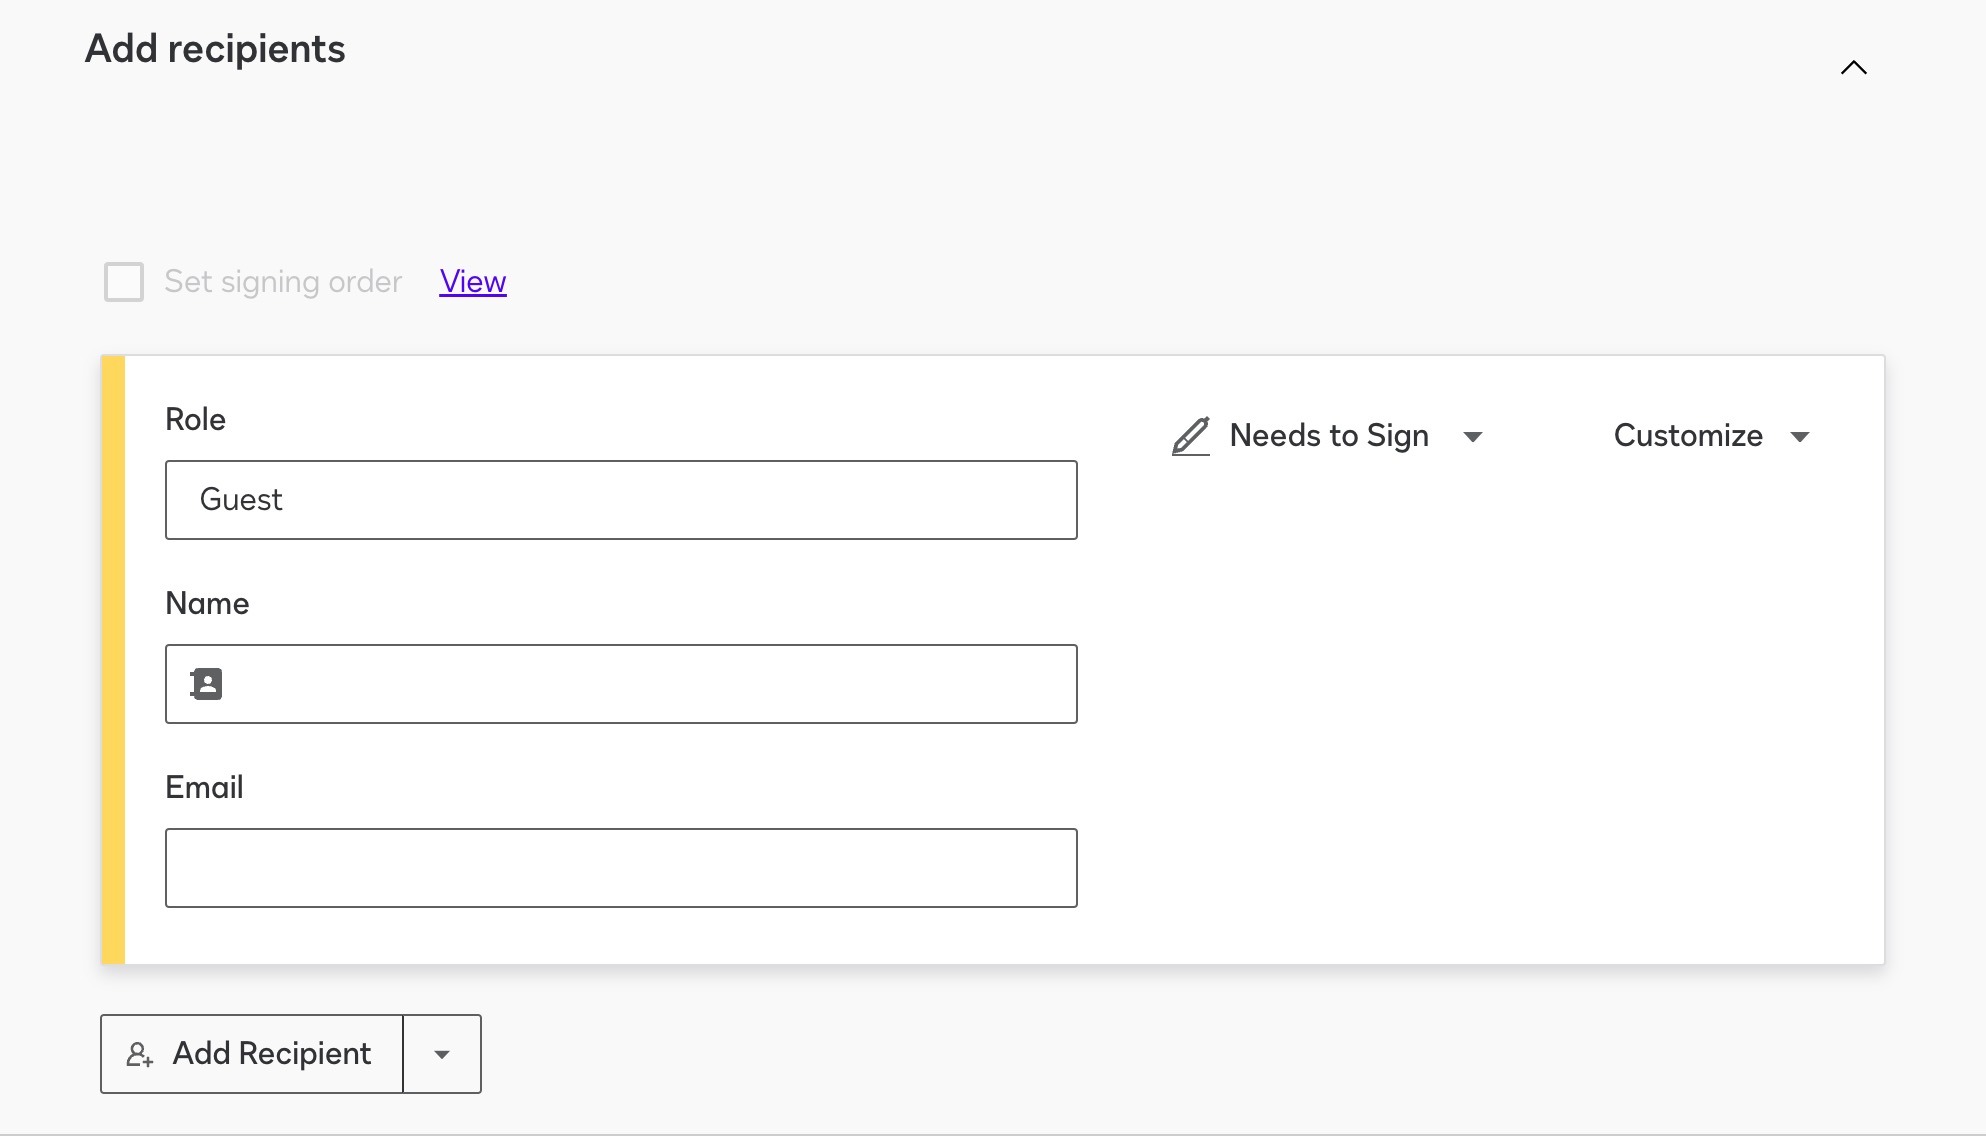
Set Up Recipients:
In the Recipients section, add a** Role Name** (e.g., “Guest”).
- This allows you to send the agreement without requiring recipient information upfront, unlike creating an agreement directly from the homepage.
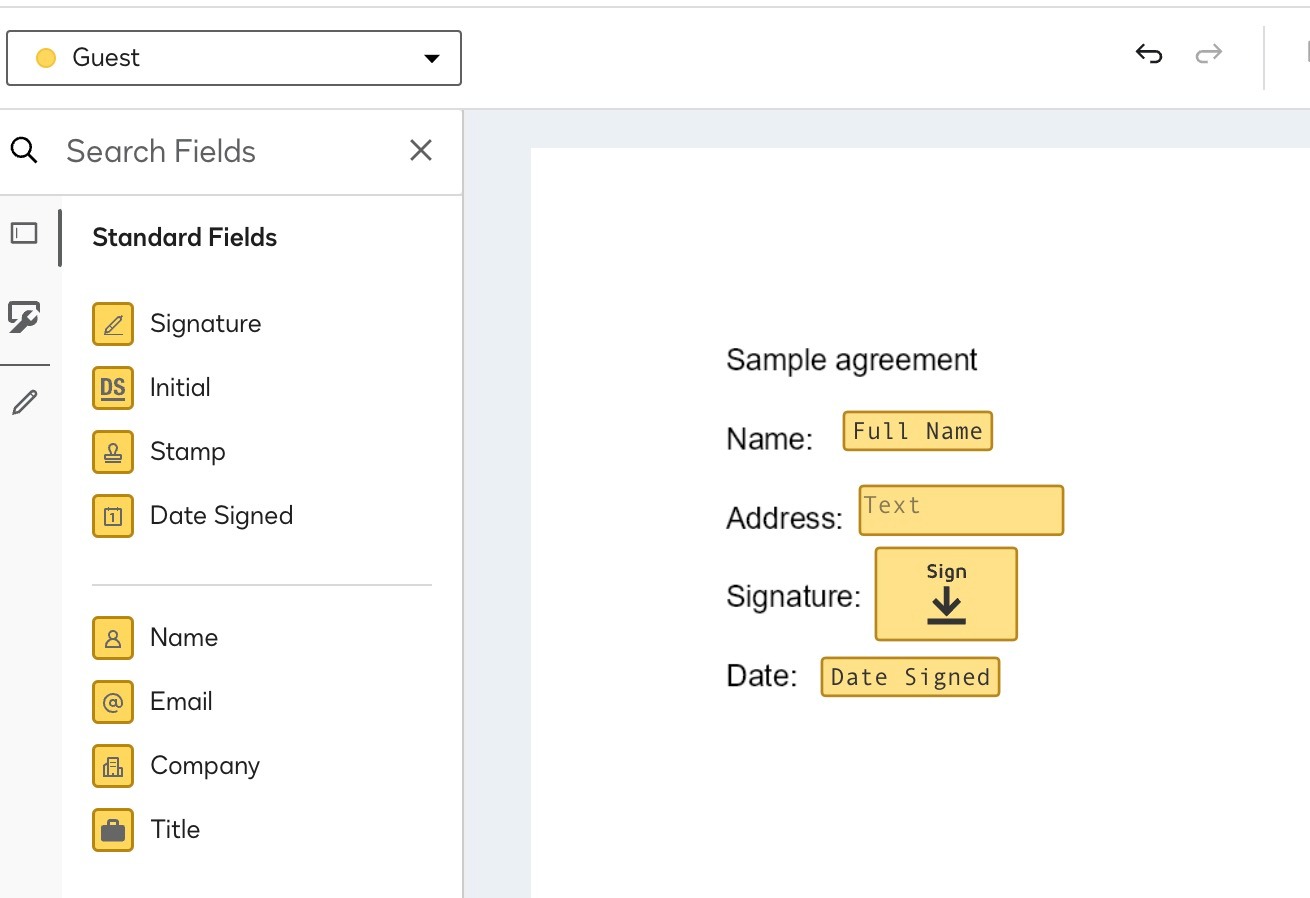
Click “Next”: Once you’ve set up the template and added the role, hit** Next** to proceed.** Add Fields**: Drag and drop the necessary fields (e.g., signature, date, name) onto your agreement where required.
 ###
###
Using Your DocuSign Template on SuiteOp
Navigate to Portal > Verify**: Log in to SuiteOp and go to the** Portal** section, then select** Verify**.** Create an Agreement**: Click on** Create an Agreement** to begin.** Select DocuSign Template**: Choose the template you created in DocuSign.** Select the DocuSign Account**: Ensure you select the correct DocuSign account linked to the template.** Assign the Portal**: Specify the portal where you want the the agreement to apply.**

Here’s What the Guest Will See on Their End:
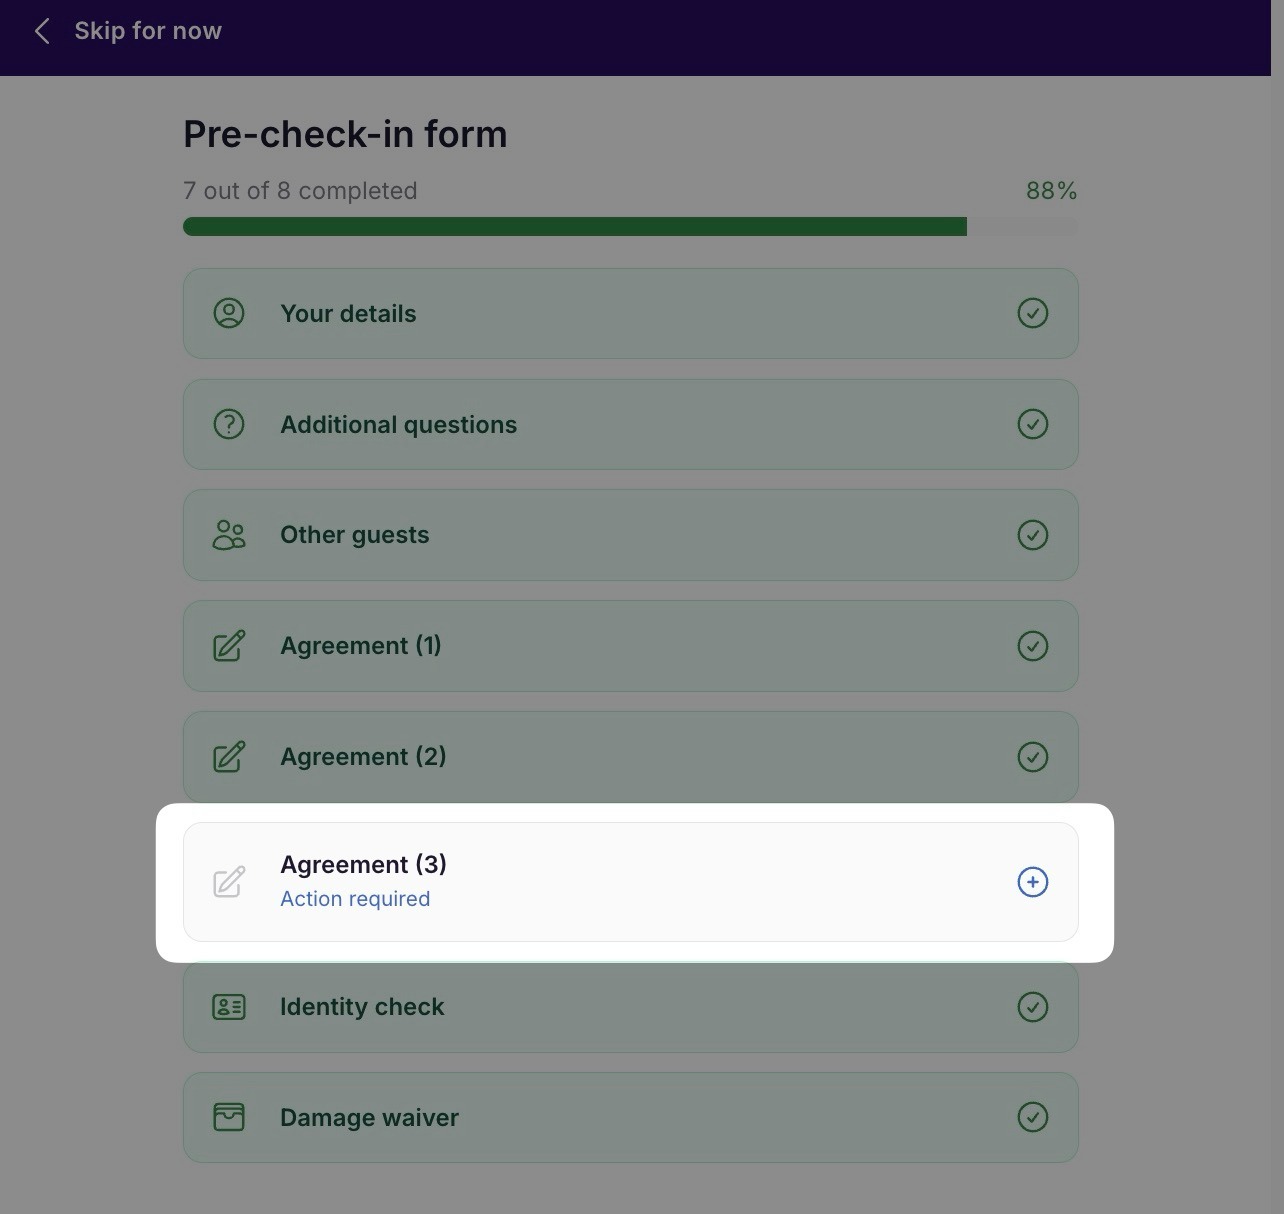
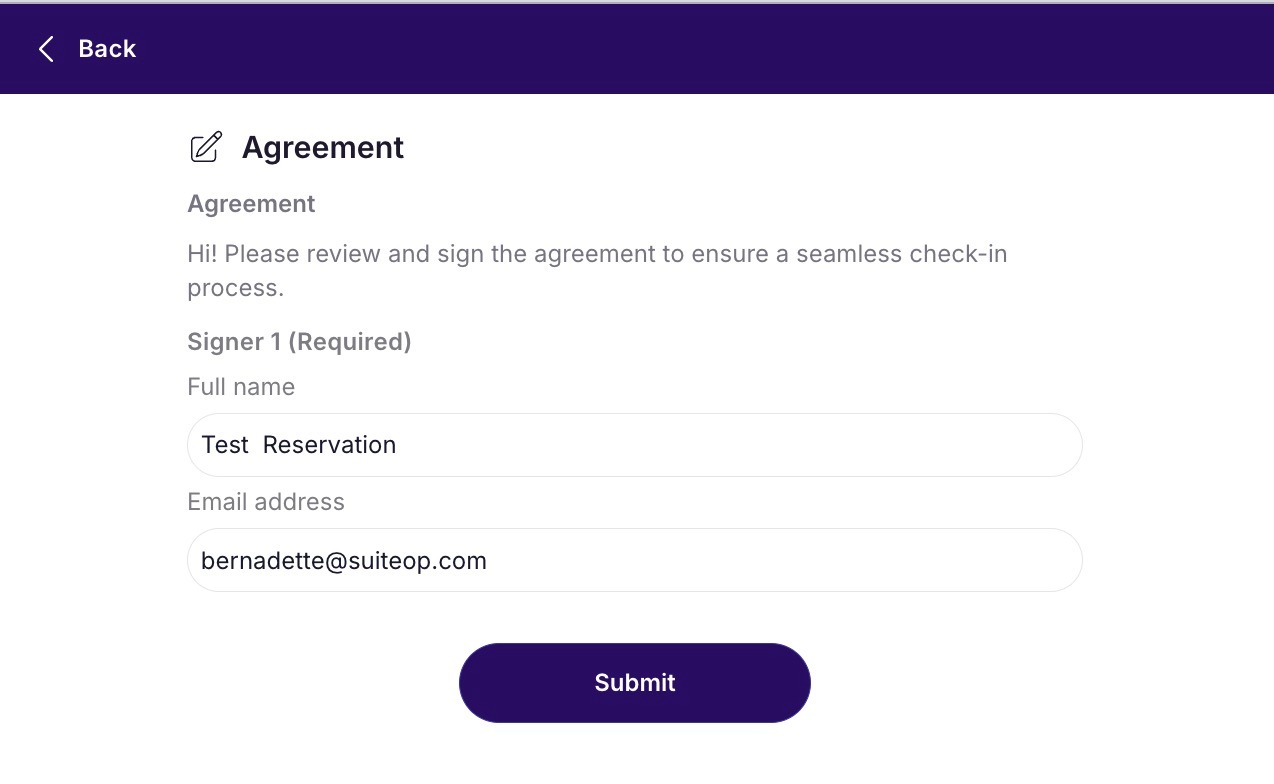 After the guest clicks Submit, a pop-up notification will confirm that the document has been sent to the email linked to their reservation.
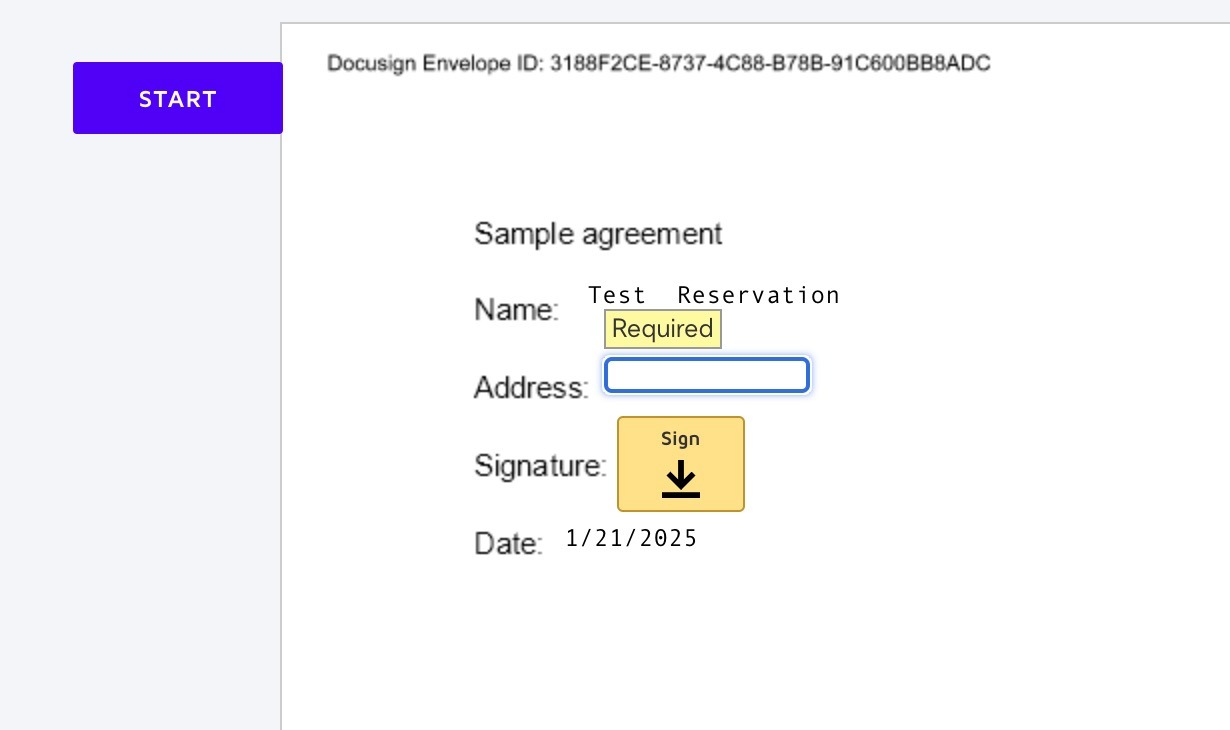
The guest will receive an email with a Review Document button, which they should click to access and complete the agreement.
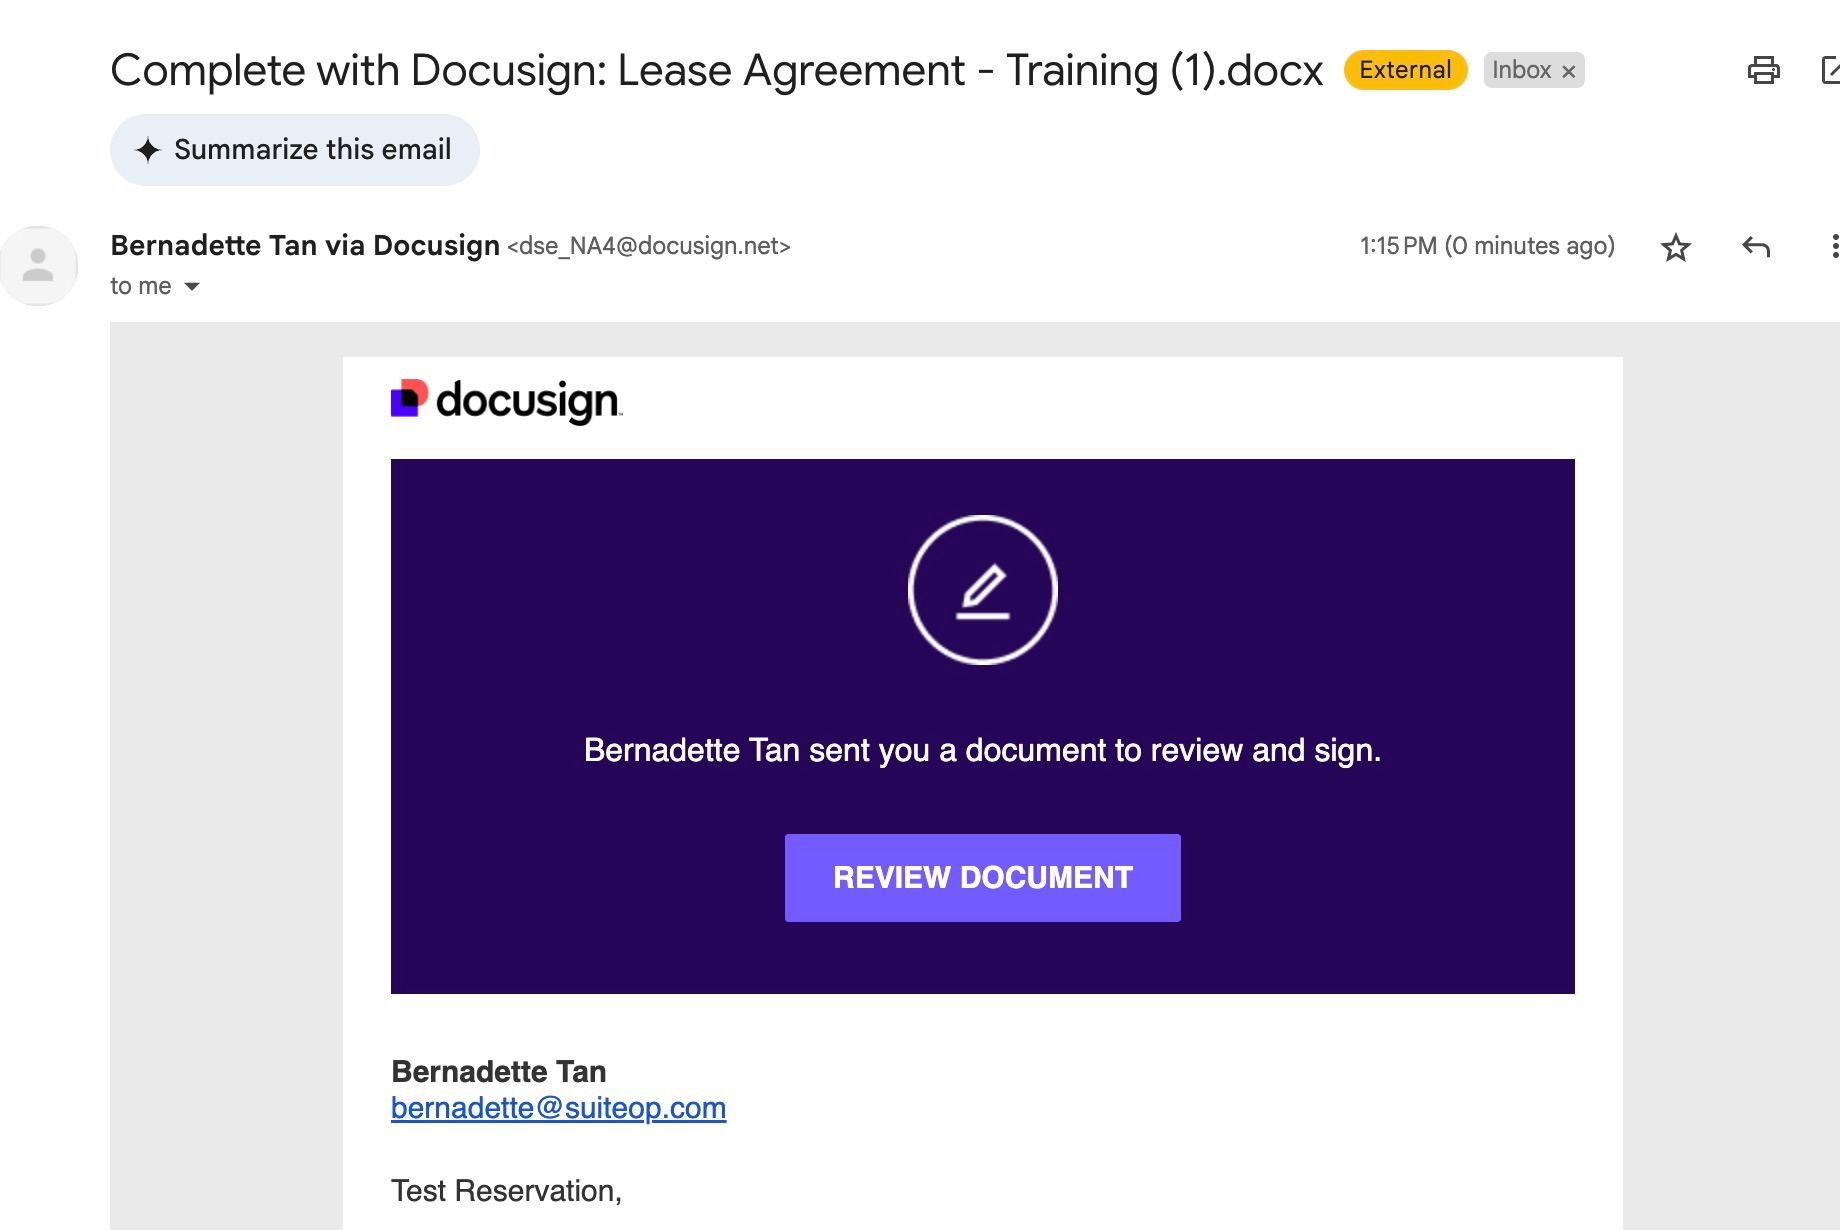
It will open a new window that will look like this
 Once the guest completes the process, they will receive a confirmation that the document has been successfully signed.
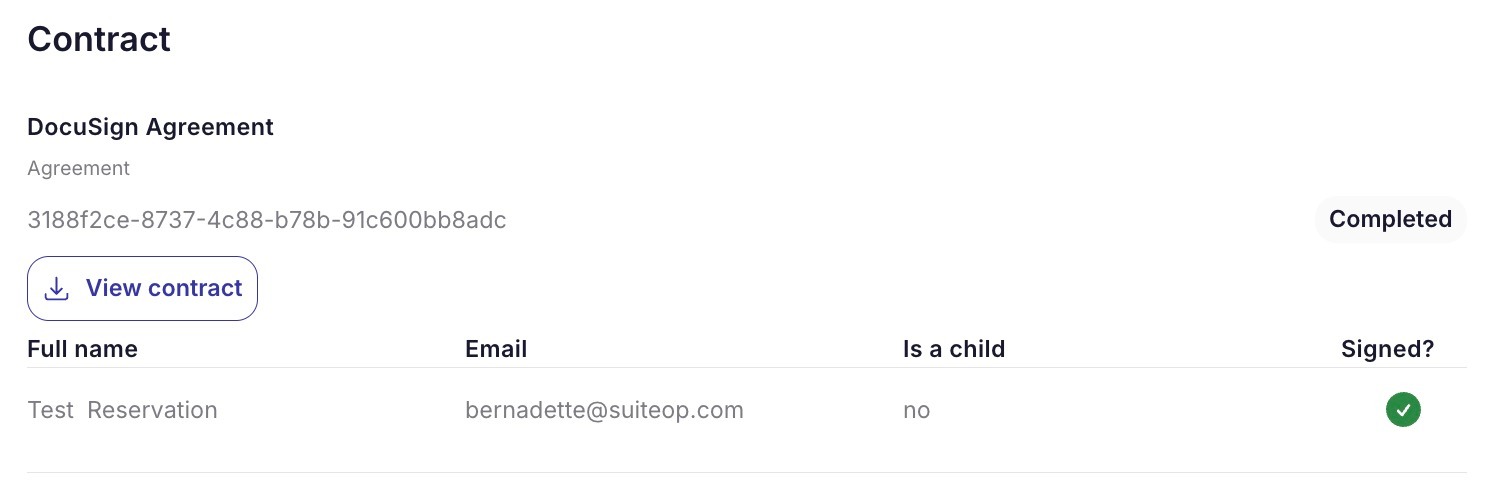
Once signed, the document will show as Verified** in SuiteOp. You can download the contract at any time by clicking** See Details**.**
Ensure DocuSign Connect is Enabled
In your DocuSign account, go to the Admin tab. Under Integrations, check that you see** Connect**. This ensures SuiteOp can connect to your account properly! If you don’t see this setting, it may be because you have an older account. To enable this open a case with DocuSign support here .